This is one of my old tutorial about Vray glass
Click Here to download tutorial
Search

Custom Search
Saturday 30 April 2011
Thursday 28 April 2011

Wednesday 27 April 2011
Using Z-Depth in Vray SketchUpVideo Tutorial
Fernando Rentas of Asgvis has shared this week this video about zdepth, this workflow show a similar approach on what I have done in my last month tutorial where I explained my workflow in using Zdepth. My Zdepth tutorial Link HERE.
Monday 25 April 2011
New vray 1.49.01_another render
Another render. I have tried to put some of my paintings. Also I adjusted my Vray physical camera.


The new improved VraySketchup 1.49.01
I feel there is a significant improvement from vray 1.48.66 to the latest release, not just with bug correction, but with speed and also with quality. Im rerendering some of my old scene still, but i feel the speed is so significant. Still would like to confirm with some more rendering tests. This is a re-render since of my IES tutorial.


Sunday 24 April 2011
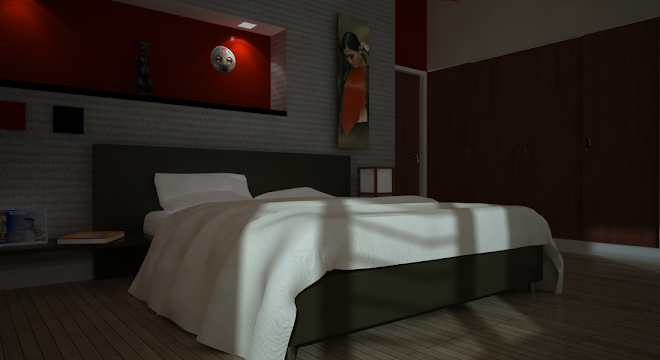
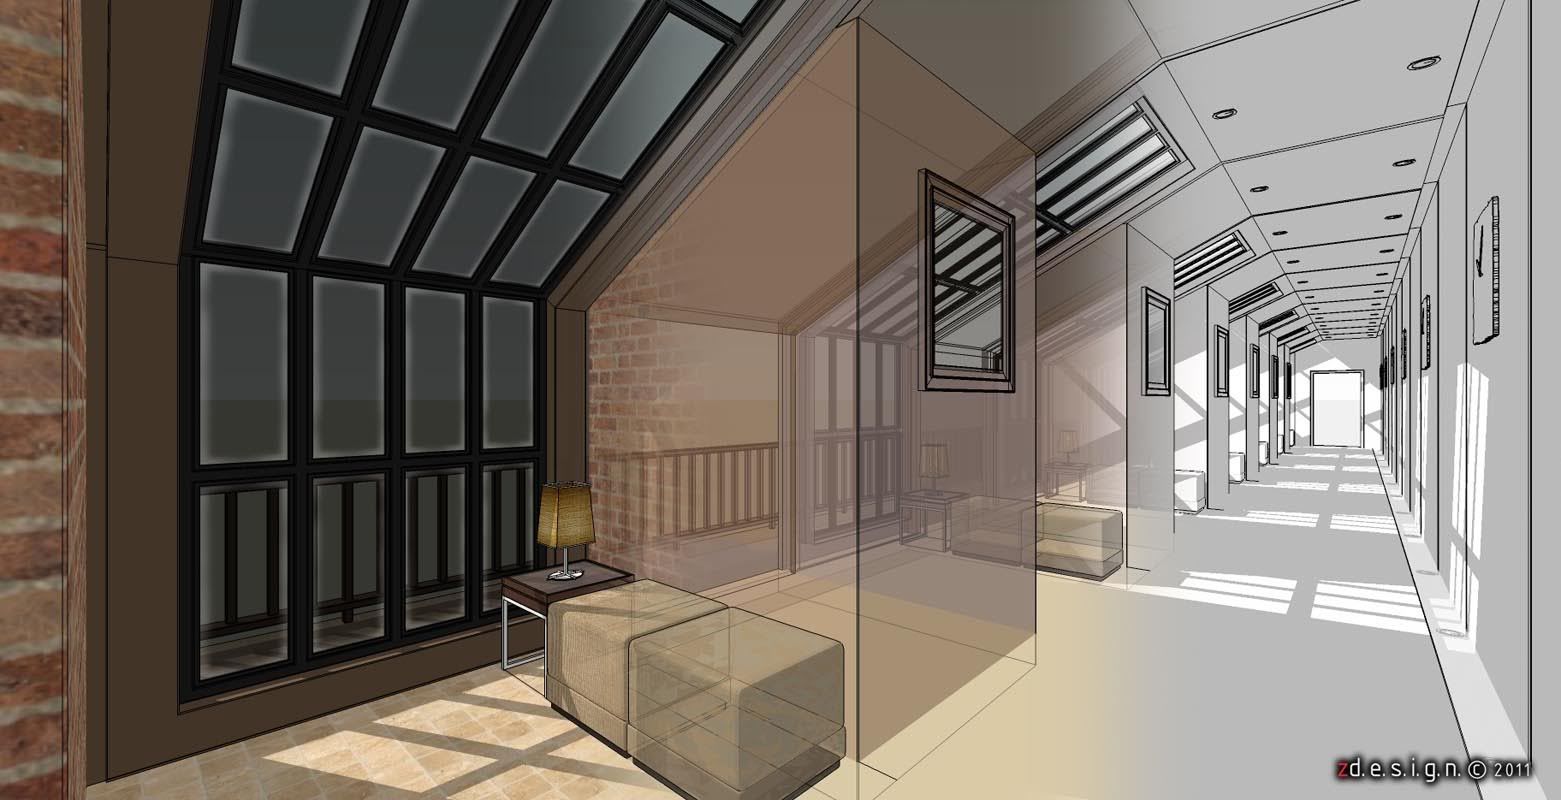
Z Design Stained Window GlassTutorial
With permission from an excellent Filipino renderer Zernan Suarez (aka Zdesign) I would like to post this tutorial he shared at www.cgpinoy.org. Here are Zernan's renders for this mini tutorial:

view_1
Enlarge this imageReduce this image Click to see fullsize
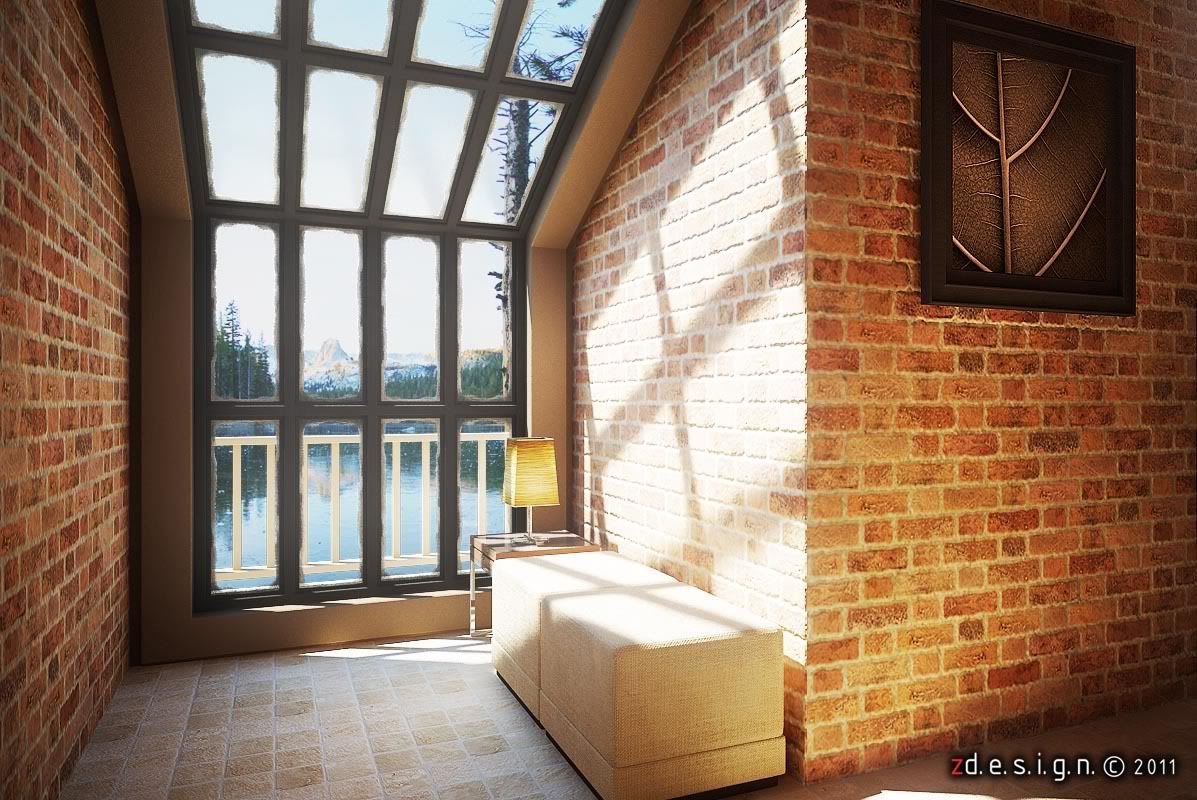
view_2
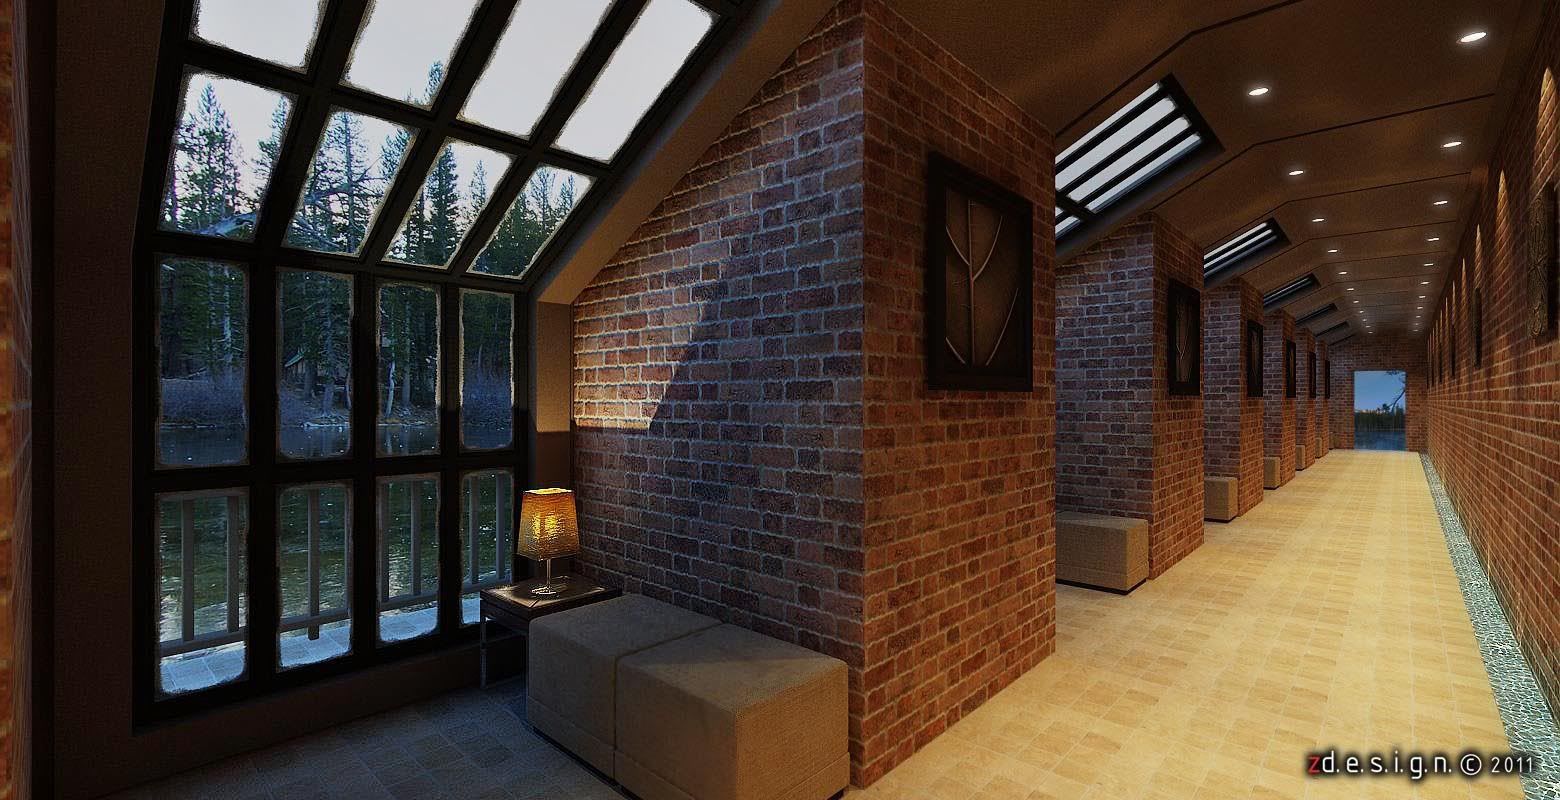
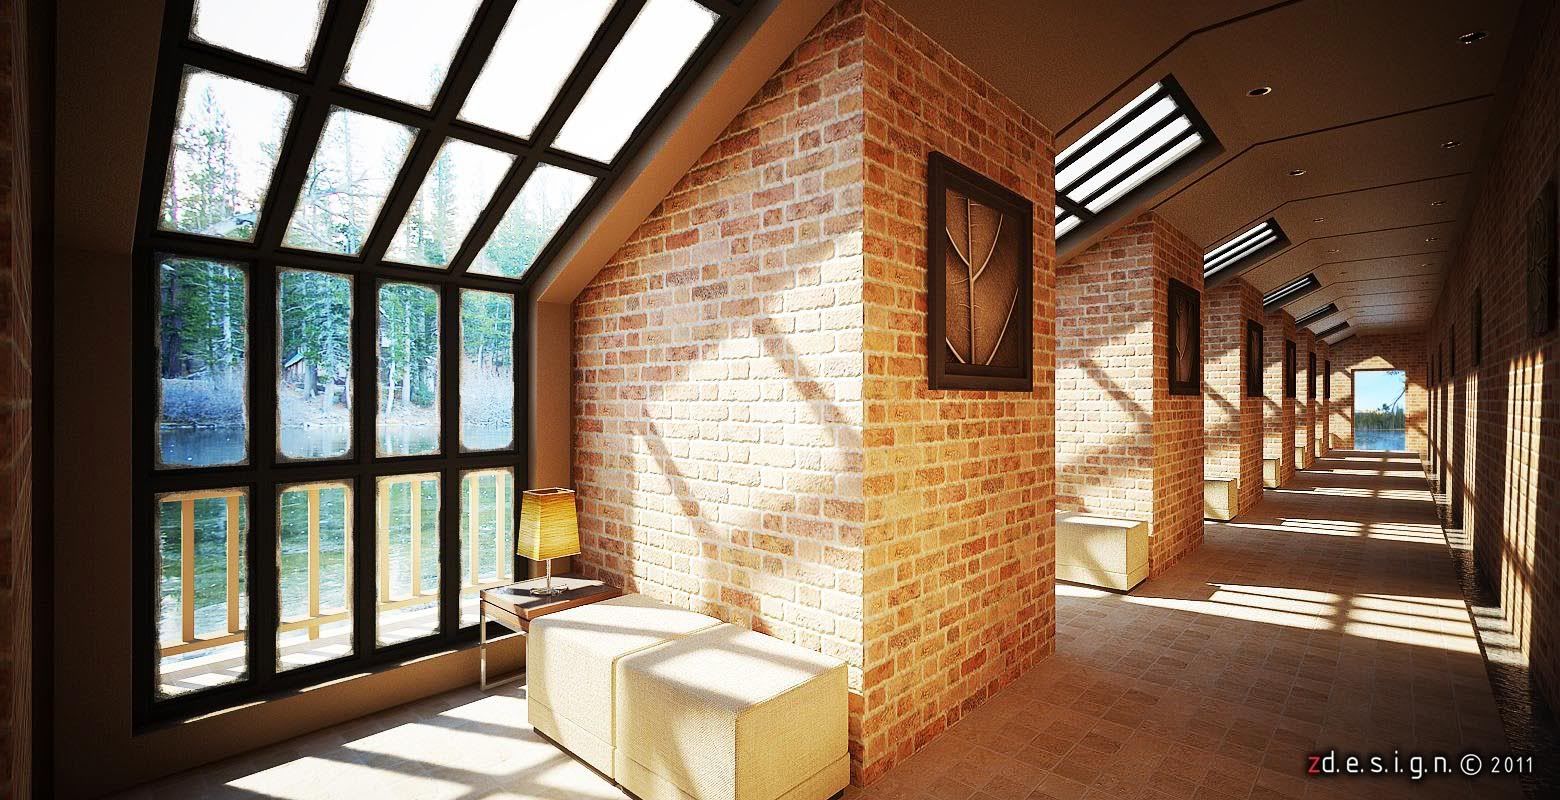
view_3
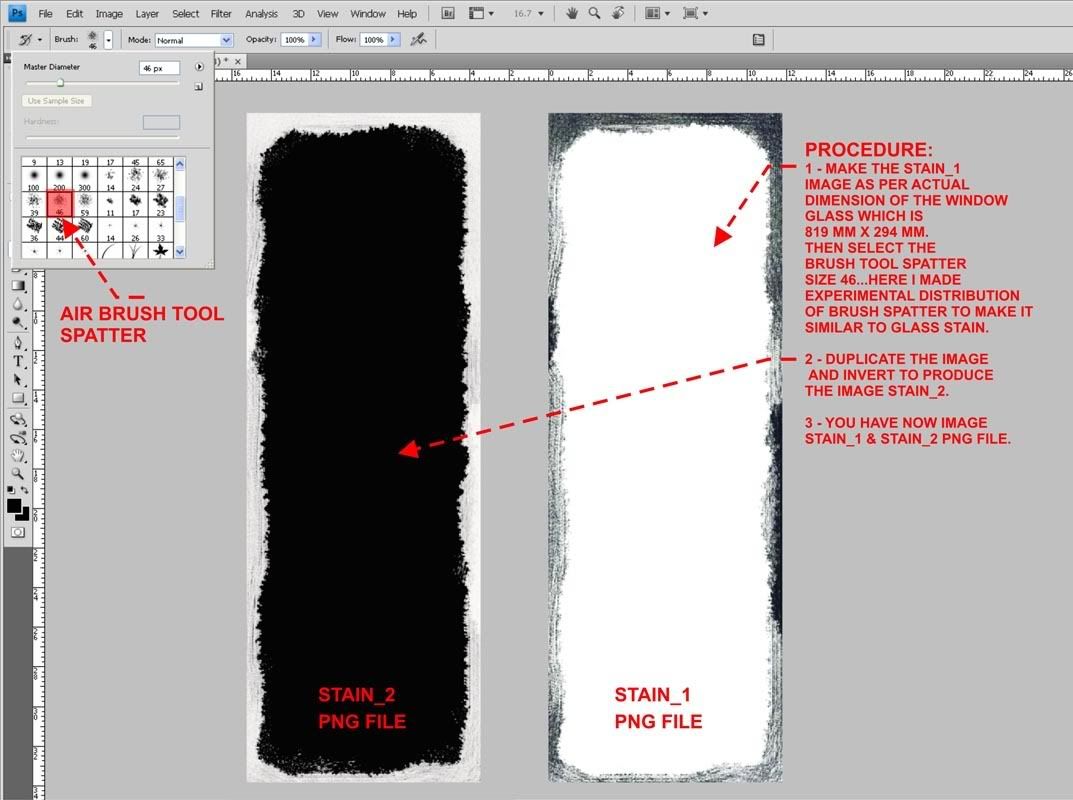
And here is the trick
1. Preparation of material using Photoshop
Vray Material Setting
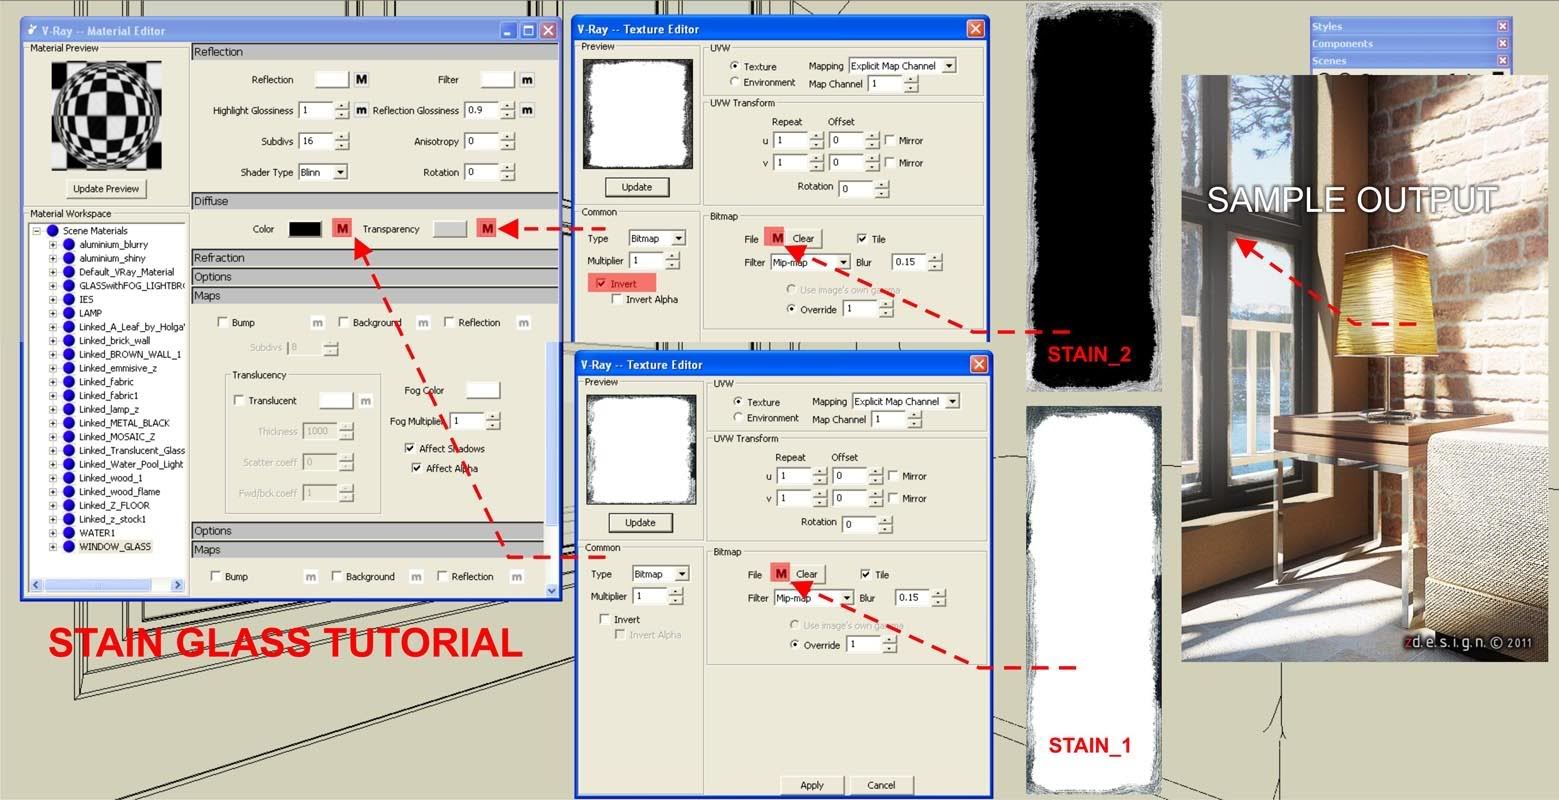
So again thanks to Zernan Suarez. Download his materials below.
Saturday 23 April 2011
Importing 3ds Model to SketchUp
Here is an excellent tutorial by mI9z migs. Link from here.
I found it a bit tricky to move from max, to cinema 4d to sketchup, nevertheless it worked with him.
Export-Import Errors
I. This is the most common pop-up error we see during export from max to 3ds.

II. This is the usual import result in sketchup.

The Workflow:
A. export the max model to .obj instead of 3ds.
u can specify here what to group in the model upon export, kung by material, etc.

B. Import the .obj file to Cinema4D:
* As much as possible, delete all vrayt materials in the scene.

C. Export the file in C4D to 3ds, then import to sketchup.
Here's the result:

*This is just my personal experiences.
Hope this help.
I found it a bit tricky to move from max, to cinema 4d to sketchup, nevertheless it worked with him.
Export-Import Errors
I. This is the most common pop-up error we see during export from max to 3ds.
II. This is the usual import result in sketchup.
The Workflow:
A. export the max model to .obj instead of 3ds.
u can specify here what to group in the model upon export, kung by material, etc.
B. Import the .obj file to Cinema4D:
* As much as possible, delete all vrayt materials in the scene.
C. Export the file in C4D to 3ds, then import to sketchup.
Here's the result:
*This is just my personal experiences.
Hope this help.
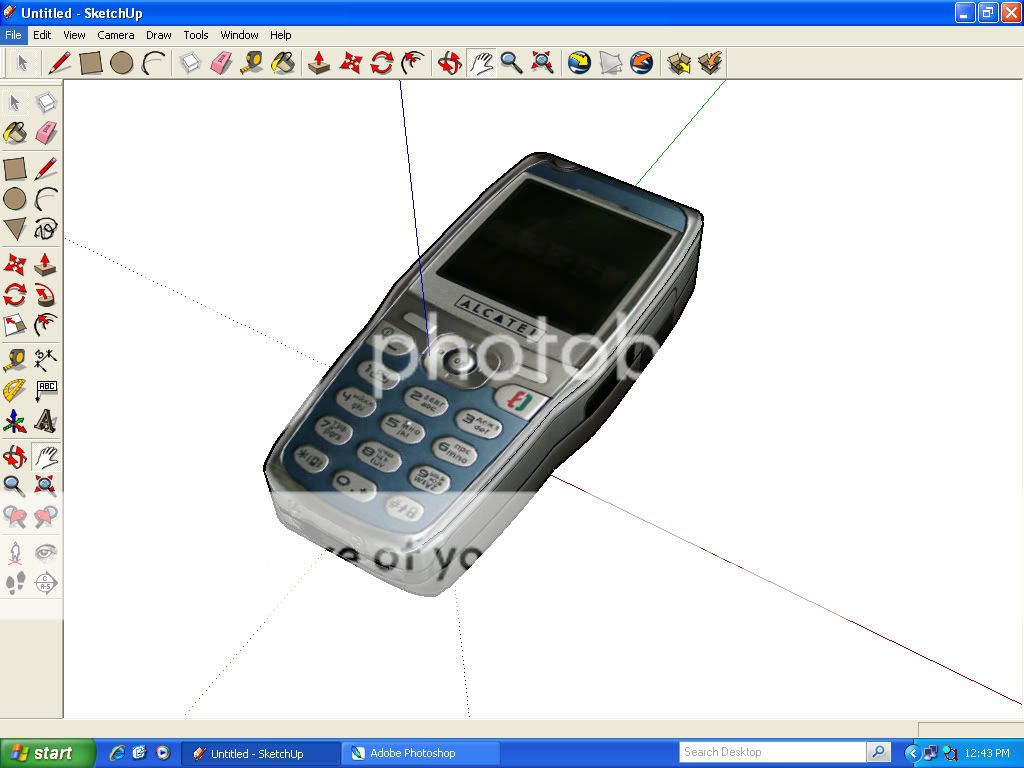
Product Modelling using SketchUp
This is a quick tutorial to do a model using some blueprints.

using photoshop, I seperated all the views and saved them into separate files. I then imported them to SketchUP and set up like the view below.

Trace the outline of the top and side view and use the push pull tool.


Select all, choose Edit/intersect/intersect with model. Erase unwanted edges

Remap the textures (side-top etc.). select all and smoth edges tool.Voila! This is now ready for rendering. A small caution, do not place this closer to the camera. This is not a high poly model, but we just use the projected texture to a low poly boxy model.
using photoshop, I seperated all the views and saved them into separate files. I then imported them to SketchUP and set up like the view below.
Trace the outline of the top and side view and use the push pull tool.
Select all, choose Edit/intersect/intersect with model. Erase unwanted edges
Remap the textures (side-top etc.). select all and smoth edges tool.Voila! This is now ready for rendering. A small caution, do not place this closer to the camera. This is not a high poly model, but we just use the projected texture to a low poly boxy model.
SketchUp to Blender
Some of my friends asked me about free rendering software. One of them of course is Blender. Since SKetchUp free is definitely free, you might want to consider the SU-BLender combo. A tutorial written by this guy is worth looking.
http://sites.google.com/site/alexvaqp/sketchupblender

http://sites.google.com/site/alexvaqp/sketchupblender

How to render photomatch projected texture models.
i have written a quick tutorial on how to render photomatch projected texture models.

this is the same method i have used in this image.
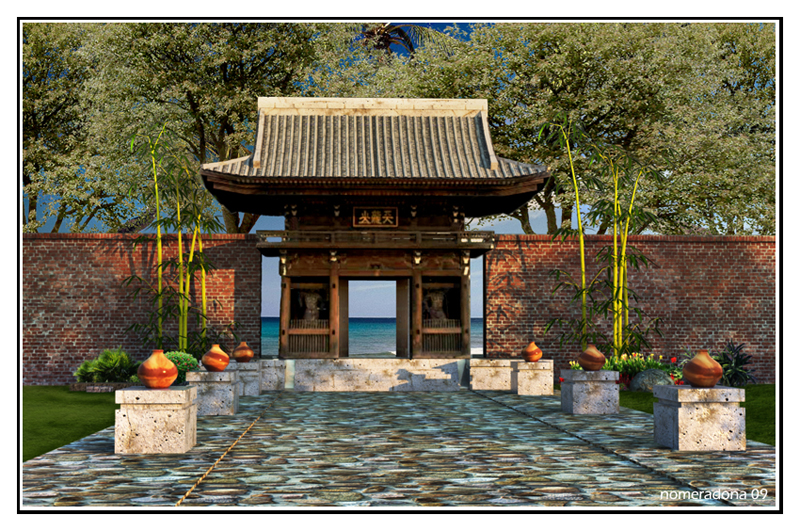
this is the same method i have used in this image.
Wednesday 20 April 2011
How to generate terrain from contour lines in Google SketchUp.
Here is my work flow when it comes to skinning terrain. It is much faster than the curviloft script.

Download tutorial here:
TUTORIAL_terrain
Download tutorial here:
TUTORIAL_terrain
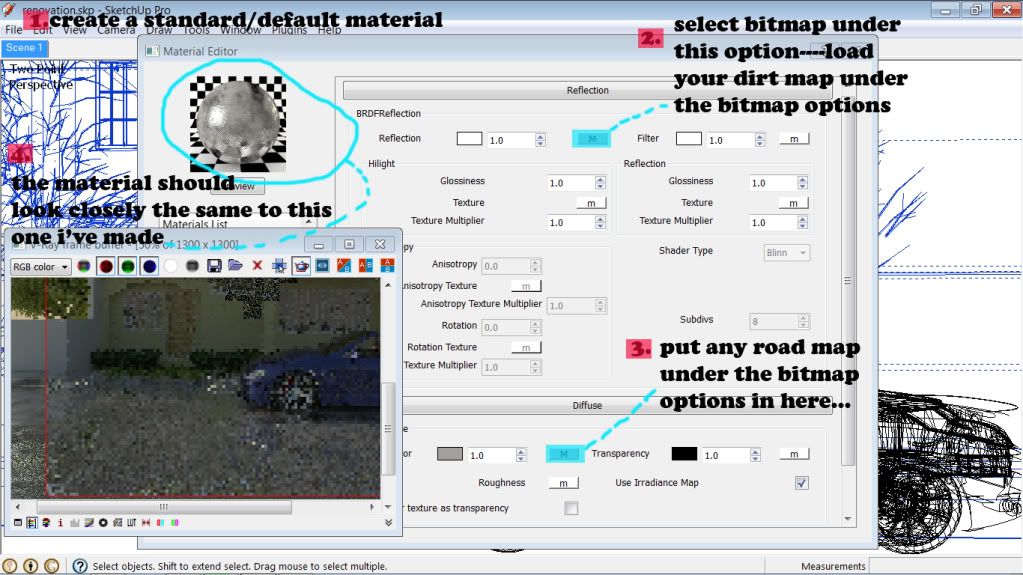
Creating Puddle on the Road
Here is a simple Vray tutorial of Creating Puddle on the road shared by vhycheng in our cgpinoy.com site.
Enlarge this imageReduce this image Click to see fullsize
final output:
Enlarge this imageReduce this image Click to see fullsize
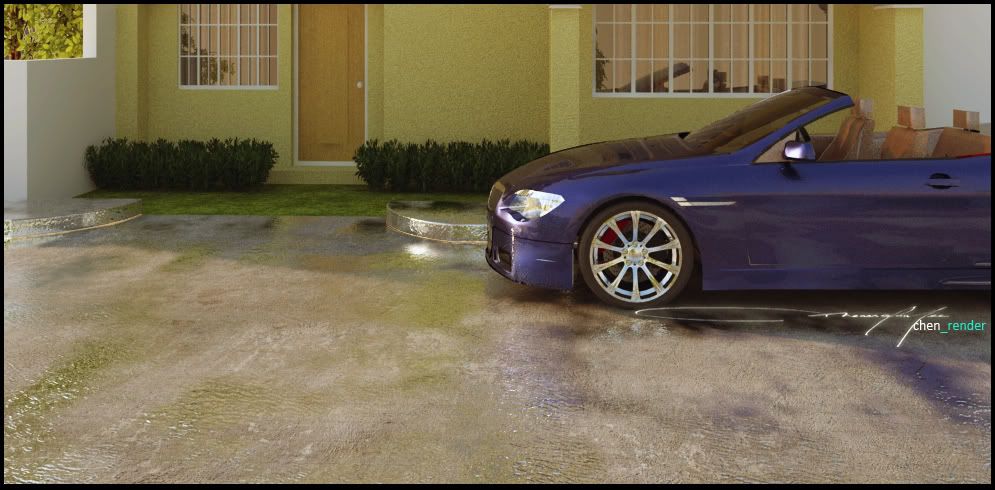
whole view link:http://www.cgpinoy.org/t17892-puddle-on-the-road-testing#317020
road map: any good road map will do
dirt map:
Enlarge this imageReduce this image Click to see fullsize
final output:
Enlarge this imageReduce this image Click to see fullsize
whole view link:http://www.cgpinoy.org/t17892-puddle-on-the-road-testing#317020
road map: any good road map will do
dirt map:


Tutorial: DOF using Zdepth data in VraySketchUp
Here is my approach in creating DOF using Zdepth data in VraySketchUp 1.48.66 up

Creating DOF using the Zdepth Channel in Vray Su
Creating DOF using the Zdepth Channel in Vray Su
Emissive Layer as Light source
The second part of my Definitive Lighting Series using Vray SketchUp is a detailed explanation about using emissive material as light source. Here is a sample teaser render using this technique.

Q and A with Asgvis.com
I want to share the interview (Q and A with Chaos Group, formerly Asgvis.com). It is an honor to be featured to this excellent site.
http://software.asgvis.com/index.php?option=com_content&view=article&id=1059&Itemid=466
Here is the screen grab of the community section

http://software.asgvis.com/index.php?option=com_content&view=article&id=1059&Itemid=466
Here is the screen grab of the community section
Another old rendering of Taman Sari
Here is another rendering I did for Taman Sari. Media is pen and ink, marker and colored pencil. If I remember exactly, this render was done in 1995. I have not use any architectural software at that time. All of this was done manually

Warehouse again this tiem in Vray SketchUp
I re-render this favorite warehouse in vray. Previously i did it with podium

Lighting with Vray for SketchUp _ definitive guide Part 1
Here is a series tutorial I did for www.sketchupartists.org.

In this first tutorial I will be using V-Ray Beta version 1.48.99 (V-Ray for SketchUp User Manual Version 1.48) and SketchUp version 7.0. I will be focusing on IES, Spotlight, Rectagular and emissive lighting. You will learn how to create a realistic lampshade material and how to position the rectangular lights to achieve the right effect for your shade. In this tutorial I will be using the same model that I used in the previous tutorial “Interior Lighting for Beginners” and will be adding components and materials to achieve the desired effect.
Here is a screen shot of the particular interior that I will be using.
1. IES Lighting
I have done this in a previous tutorial here at SketchUpArtists: Basic IES Tuorial using V-Ray for SketchUp. The only difference is instead of using a rectangular light to show the light source, I will be just using a Emissive map.
2. Spotlight
Together with IES lighting, this is also a new feature with V-Ray 1.48.66 and up. Since this is a tutorial, allow me to put 4 spotlights in my four recess lamps.
Here is the settings for my Spotlight. For me the most critical setting is the Shadow Radius which controls the softness of the shadows, Shadow Subdivision controls the smoothness of the shadow and last but not the least is the Penumbra Angle. In the image below I used 0.3.
Here is the render using Spotlight. In this render I used a very low resolution. This is the reason why I have splotches and grains. This can be corrected easily by using higher Subdivisions and Samplings.
Here is the resulting render.
Lastly, I will add a few more components. A special thanks to a friend BTH (Trang An) for some of these great components.
In this first tutorial I will be using V-Ray Beta version 1.48.99 (V-Ray for SketchUp User Manual Version 1.48) and SketchUp version 7.0. I will be focusing on IES, Spotlight, Rectagular and emissive lighting. You will learn how to create a realistic lampshade material and how to position the rectangular lights to achieve the right effect for your shade. In this tutorial I will be using the same model that I used in the previous tutorial “Interior Lighting for Beginners” and will be adding components and materials to achieve the desired effect.
Here is a screen shot of the particular interior that I will be using.
 |
| Basic SketchUp Interior |
I have done this in a previous tutorial here at SketchUpArtists: Basic IES Tuorial using V-Ray for SketchUp. The only difference is instead of using a rectangular light to show the light source, I will be just using a Emissive map.
 |
| Emissive Map and IES Light Icon |
Here is the material I used for the Emissive map.
 |
| Settings for Material |
This is the first render.
 |
| Render |
Together with IES lighting, this is also a new feature with V-Ray 1.48.66 and up. Since this is a tutorial, allow me to put 4 spotlights in my four recess lamps.
 |
| 4 Recess Lamps |
The Image below shows the position of the Spotlight icon. I also use a Emissive maps on the light receptacles.
 |
| Position Spotlight Icon |
 |
| Spotlight Settings |
 |
| Render Using Spotlight |
3. Lampshades
Here is a simple lamp I modeled in SketchUp. I will show you how to place V-Ray rectangular lights.
 |
| SketchUp Lamp |
Here I hid the shade of my lamp to show how I set up my rectangular lights. V-Ray rectangular 1 and 2 run along the height of the shade. They are double sided, visible but they don’t cast shadows. The one that casts shadows is the third V-Ray rectangular light. This one casts shadows, double sided but I made it invisible.
 |
| Rectangular Lights |
Here are the settings of my V-Ray rectangular lights.
 |
| Vray Rectangular Lights 1 and 2 Settings |
 |
| Vray Rectangular Lights 3 Settings |
Lampshade material: This is a 2 sided material with about 70% gray mixture.
 |
| Lampshade Material Settings |
 |
| Render With Rectangular Lights |
 |
| SketchUp Scene with Extra Components |
Here is the final render.
 |
| Night Scene |
I also attempted to render with the same scene, this time with GI and BG Colors on (no mapping).
 |
| Night Scene 2 |
Cheers! I hope you will wait for the second part of this tutorial and my guide to lighting with V-Ray for SketchUp.
Nomeradona
Subscribe to:
Posts (Atom)
Bedroom Interior Rendering